Walked over 2 hours today and almost got myself in trouble... was thinking of going to a coffee shop and enjoy some coffee and dessert but obviously that didn't happen... oh well, thanks to allrecipes.com, I will have my dessert tomorrow... but seriously, Chicago needs more high-tea places... /sigh...

Source:
Cook Time: 30 Minutes
Ready In: 2 Hours
Servings: 6 (the original recipe is for 12 servings)
Ingredients:
3 egg yolks
1/2 cup and 2 tablespoons white sugar (I could probably used a little less sugar... oh well, maybe next time...)
1/2 cup and 2 tablespoons mascarpone cheese (I put a little less since I put a little extra heavy whipping cream...)
3/4 cup and 2 tablespoons heavy whipping cream (I just poured the entire smallest carton I found from the grocery store)
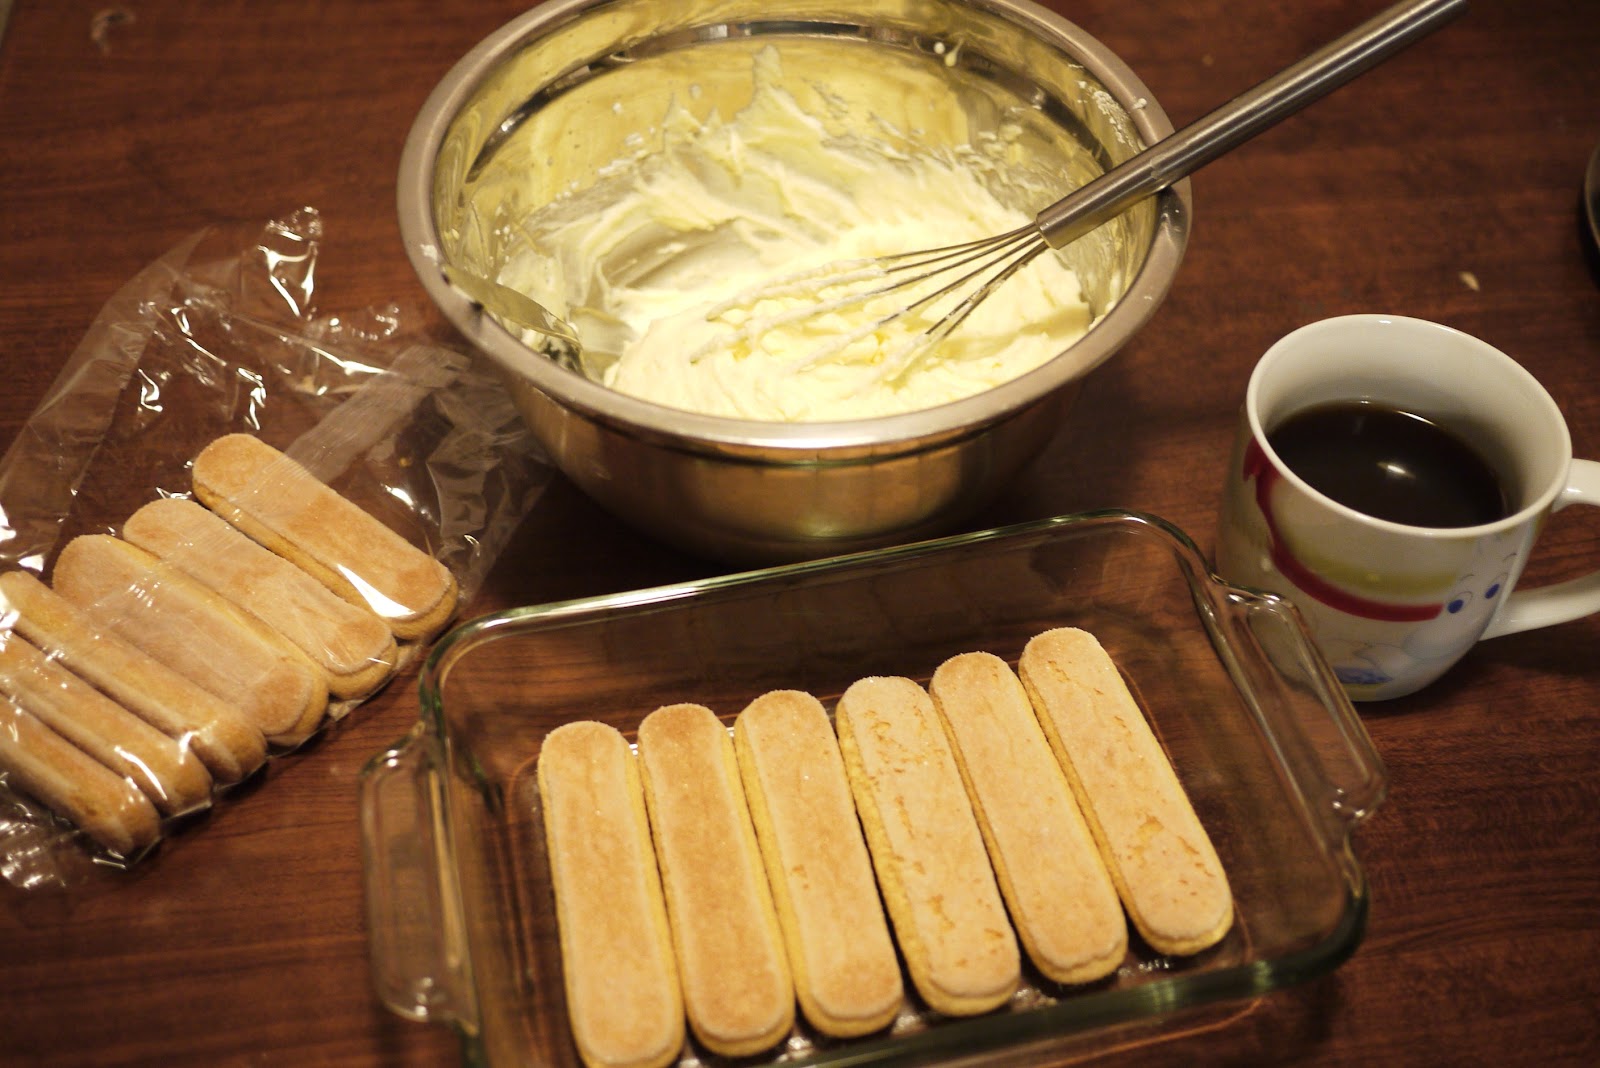
1 (12 ounce) package ladyfingers (I used 12 ladyfingers, 6 each layer)
2 tablespoons and 2 teaspoons coffee flavored liqueur (I used a lot more rum infused coffee than this recipe calls for... probably 2 tbsp per ladyfinger, since that's how I like it)
1/2 teaspoon unsweetened cocoa powder, for dusting (again, didn't measure, I just made sure my tiramisu is covered in cocoa powder...)
1/2 (1 ounce) square semisweet chocolate (did not add this to mine... I don't like my dessert too sweet...what an oxymoron...)
 Directions:
1. Combine egg yolks and sugar in the top of a double boiler, over boiling water. Reduce heat to low, and cook for about 10 minutes, stirring constantly. Remove from heat and whip yolks until thick and lemon colored. (I don't think I cooked mine for the full 10 minutes... since they look "thick and lemony" before that...)
2. Add mascarpone to whipped yolks. Beat until combined. In a separate bowl, whip cream to stiff peaks. Gently fold into yolk mixture and set aside.
3. Split the lady fingers in half, and line the bottom and sides of a large glass bowl. Brush with coffee liqueur. Spoon half of the cream filling over the lady fingers. Repeat ladyfingers, coffee liqueur and filling layers. Garnish with cocoa and chocolate curls. Refrigerate several hours or overnight.
(Optional) 4. To make the chocolate curls, use a vegetable peeler and run it down the edge of the chocolate bar
No comments:
Post a Comment