 |
| 20 layers @.@ |
The recipe I followed is as follows:
The kid's face at 2:00 is totally my face when I was making this dessert. Anyways, below are the ingredients you will need.
For each color layer you want to make:
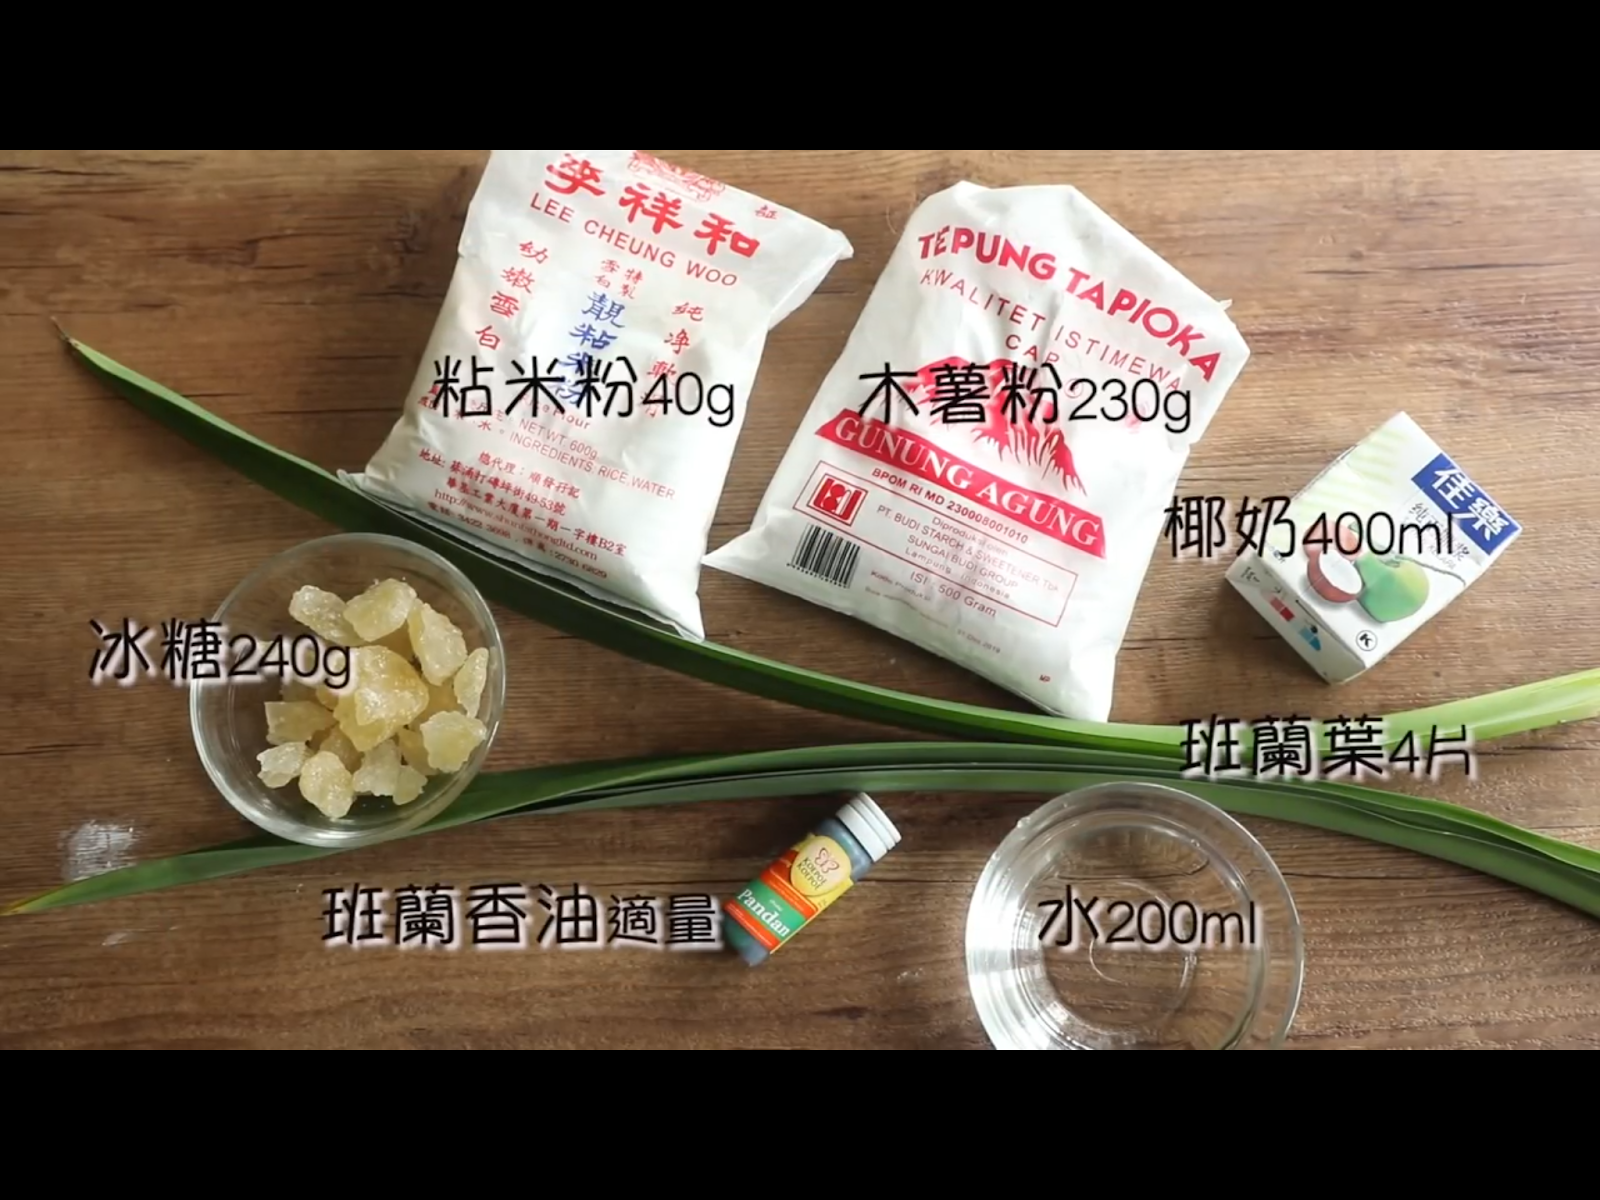
Tapioca Starch 115g
Rice Flour 20g
Coconut Milk 200ml (you can use fresh or boxed)
2 stalks of fresh Pandan leaves
Sugar 120g (the recipe called for rock sugar but I used cane sugar/片糖 instead. My mom actually wanted to persuade me to use raw palm sugar / gula Melaka *rolleyes*. You can use other types of sugar, it will change the color and the flavor of your mixture slightly)
Water 100ml
(Optional) Pandan extract and any other artificial/natural food coloring
 |
| The original recipe only has 2 layers so the measurements above are for 2 layers total. |
1. Boil the water and the sugar. You can do this process for all your layers together. Divide your syrup based on the number of layers you want to make. This will be your color base.
2. Add the dry ingredients into a mixing bowl. Again, you will need one bowl for each layer you are making.
3. Whisk in the coconut milk.

4. Cut your pandan leaves into strips and mulch your pandan leaves with a blender/mortar. Add one part of the syrup and squeeze out the extract using a cheesecloth or a sieve. Add artificial pandan extract for an extra boost of color. If you are making other color layers, you should do the same with the other syrup in this step. (I actually have the pandan extract as a leftover from my pandan chiffon cake so I used my fresh made extract instead of water in this recipe.)
5. Add #4 into #3. Since I am only making two layers, you can see the bowl to your left is the bowl with the pandan. The bowl to your right is just the plain syrup. My syrup has this disgusting brown color because I used raw cane sugar. As you can also tell, I added a dollop of artificial pandan extract to achieve that bright green result.

6. Most recipes I found online recommended to run #5 through sieve to remove any lumps. Since my tapioca starch and rice flour are fresh, I didn't have a lumpy batter but I did what was recommended anyway.


7. Prepare your steamer. I used a wok so I boiled ~1.5L water using an electronic kettle (to conserve gas) and added the hot water gradually to my wok during the steaming process. For each layer, you will need to steam 2-3 minutes (or until the batter changes color) before adding the next. If you want to be precise, use a ladle. Just remember to grease your pan. The batter mixture should be enough for approximately 5 layers in an 8-inch pan. Once the last layer is added, steam for a total of 15 minutes to ensure the entire cake is cooked through.

Alternatively, you could also use an electronic range to steam but I find the results from steaming in a wok better.

8. If you greased your pan, the kuih will be very easy to remove. I like my kuih thicker when sliced so I cheated and cut the kuih in the middle and stack them together while it was still relatively hot. (It is actually quite difficult to cut clean edges with a knife when the kuih is still hot. Much easier to handle with a pair of scissors.) Clean the edges with a pair of scissors and let it cool before slicing.

I think my kuih tastes nicer when warm but a bit too stiff after cooling. My mom loved it but she said it can use more sugar. If I ever have the urge to eat this again, I will probably use a little more water or less tapioca starch/skip the rice flour and a bit more sugar.
I admire the dedication it takes to make such intricate desserts.
ReplyDeletehttps://hfoplant.blogspot.com/2012/04/short-time-solution-for-lube-oil-water.html?sc=1779354930419#c4933915281262858908
ReplyDelete